Did you recently get a new DSLR camera? Here are a few useful tips to get you going.
When your DSLR is set in the fully manual mode it behaves very much like a compact camera. The quality of the pictures might be a bit better than what you achieved before but the main advantage of a DSLR is that you can take full control of your camera and the creative effects in your images.
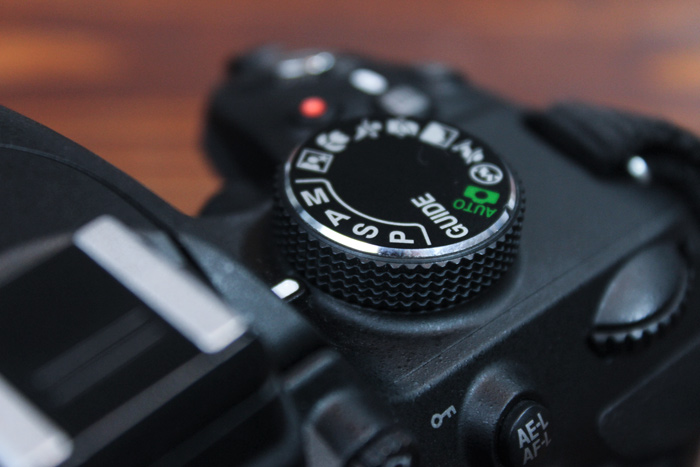
There are two main settings on the camera that will control these effects – Aperture and Shutter Speed. These can be controlled independently in the cameras Manual (M) mode, or semi automatically using the Aperture priority mode (A/AV) or Shutter speed priority mode (S/TV).
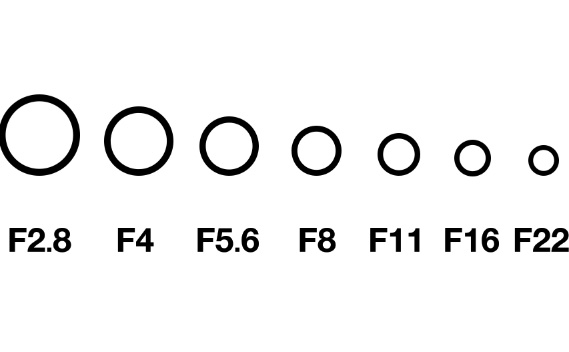
The Aperture controls how much light is let in through the lens. It is the iris of the lens if you like. A large aperture lets in more light than a small, giving you a brighter image, or a brighter exposure as we call it. The other effect of a large aperture is a blurred background, or a shallow/short depth of field to use the correct terminology. The aperture is generally expressed as an F-number, e.g. F11. The lower the number – the larger the aperture. Confusing perhaps, but lets not get too technical at this point..
Using the Aperture Creatively
Controlling the depth of field is crucial in photography and is a massive part of your composition and creative feel of an image. The camera’s automatic mode tends to choose mid range apertures giving you an average setting and generally as a result, an average looking image. A great way to learn about depth of field is to try the two extremes, shallow/short and deep/long depth of field (D.O.F).
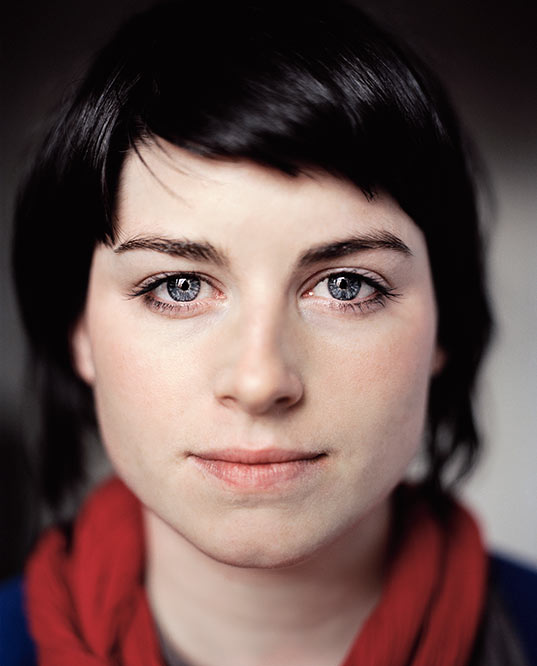
To explore a shallow D.O.F, portraiture is a good topic. Or you could photograph an object such as a plant or flower.
- Set your camera to Aperture priority mode (A/Av) and choose a large aperture such at F2.8 or F5.6
- Zoom in the lens (bringing you closer). Anything longer than 50mm should do it. The longer the lens, the more enhanced the effect will be.
- Get close to the subject.
Make sure to do all three steps described or you might not achieve the best results.
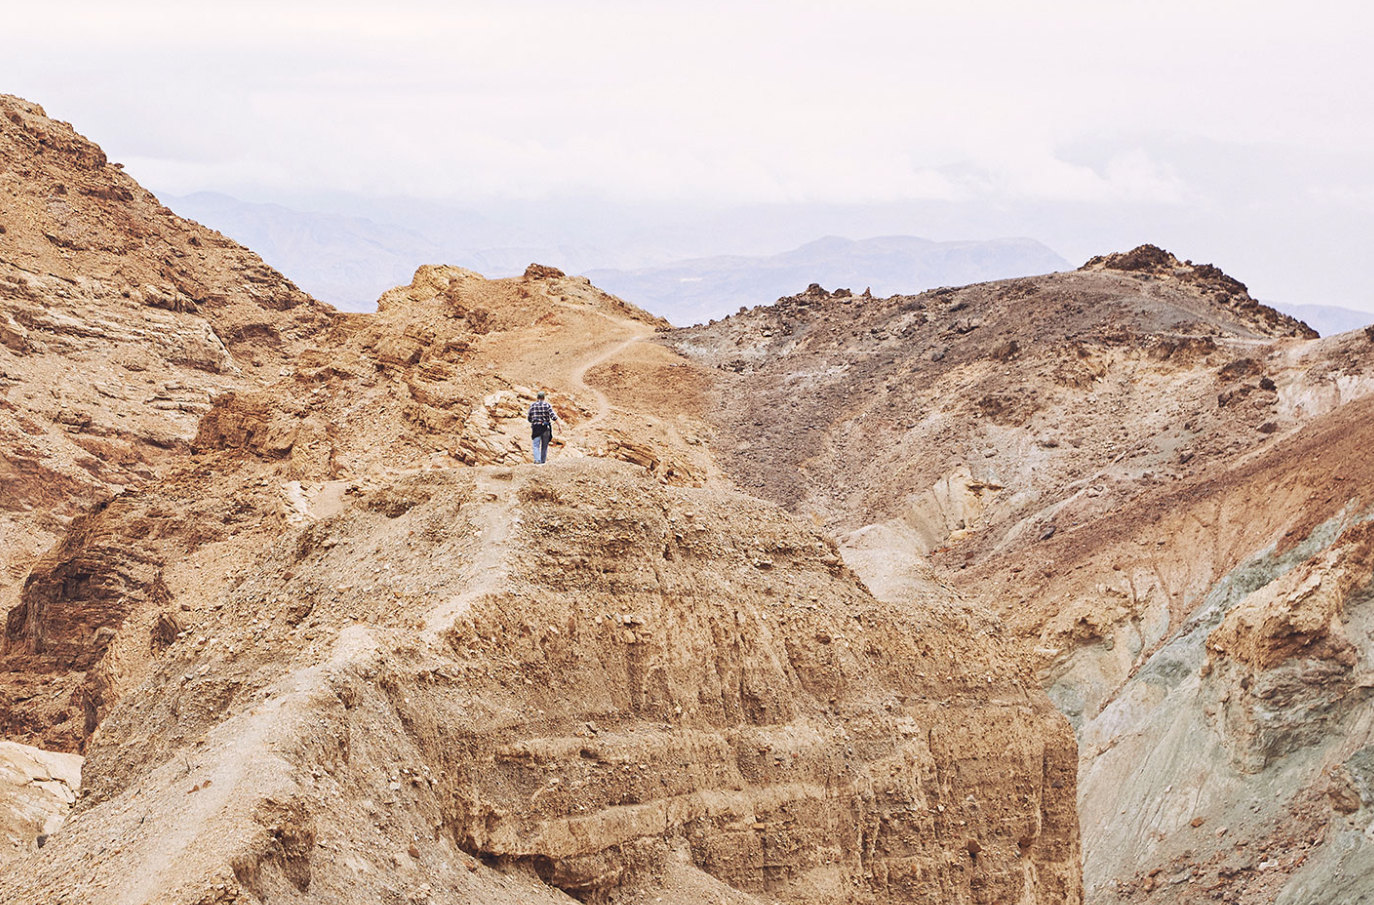
A deep depth of field might not be as exciting to learn how to create but it is equally important as a shallow D.O.F. When doing landscape or architectural photography it is essential to have the whole scene in focus unless you are specifically trying to bring out an element in the image. Achieving this is easy when you know how to create a shallow depth of field – simply do the opposite.
- Set your camera to Aperture Priority Mode (A/Av) and choose a small aperture such as F16 or F22.
- Zoom out the lens to around 24-35mm. The wider the lens, the easier it is to achieve an image that is sharp from to back.
- Focus on an object about 1/3 in of the total distance.
The other element on the camera we have control over is the shutter speed. When working in aperture priority mode the camera will automatically set the shutter speed to control the exposure. When using shutter priority (S/Tv) the opposite is true, the camera will automatically set the aperture to control the exposure.
Using the Shutter speed creatively
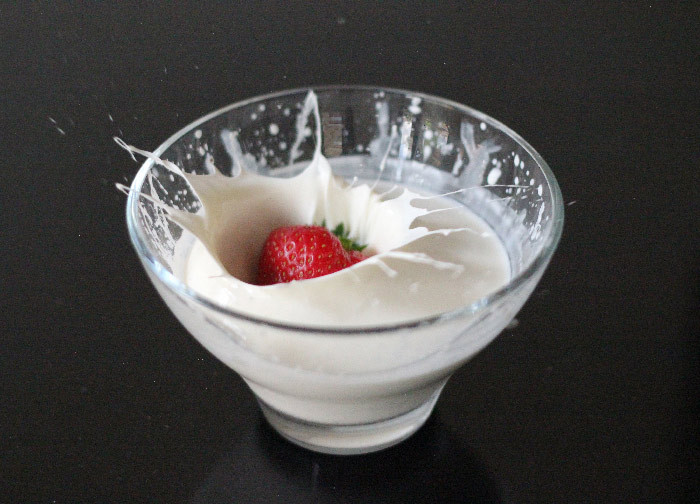
Having creative control over the movement in your image is another crucial element of photography. Typically we either want to freeze or blur the movement. Shutter speed is measured in fractions of seconds. An example of a fast shutter speed could be 1/1000 or a thousand of a second, and a slow could be 1/10. I generally recommend to emphasise the intended effect. For example, if you intend to create motion blur, 1/60 might be enough to create some blur but the effect might not be very strong and the blur might be perceived as a mistake. In a case like that, experiment with a slower shutter speed. Do take care to avoid camera shake though! Using a tripod or resting the camera on something could dramatically improve the image when using a slow shutter.
To explore movement through shutter speed find an object that is constantly moving, ideally at the same or similar speed, such as splashing water in a fountain or traffic.
Photograph using a range of speeds going from the very fastest to about 1” (1 second). The potential problem here might be that you don’t have enough light to go extremely fast or too much light to get all the way down to 1”. You might need to conduct the experiment at different times of the day, or you could increase the ISO value to brighten the image and reduce it to darken the image.
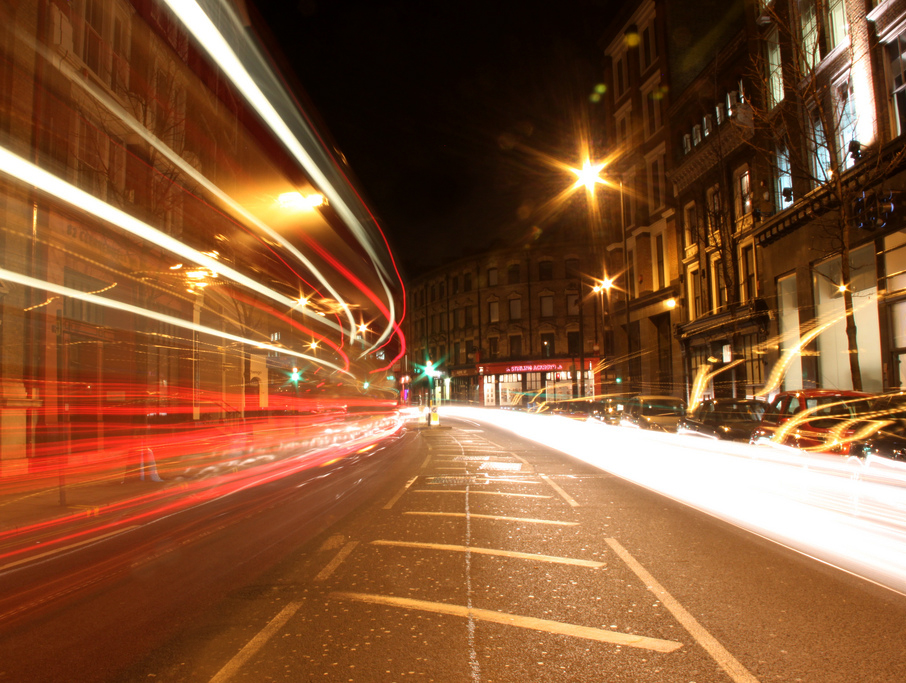
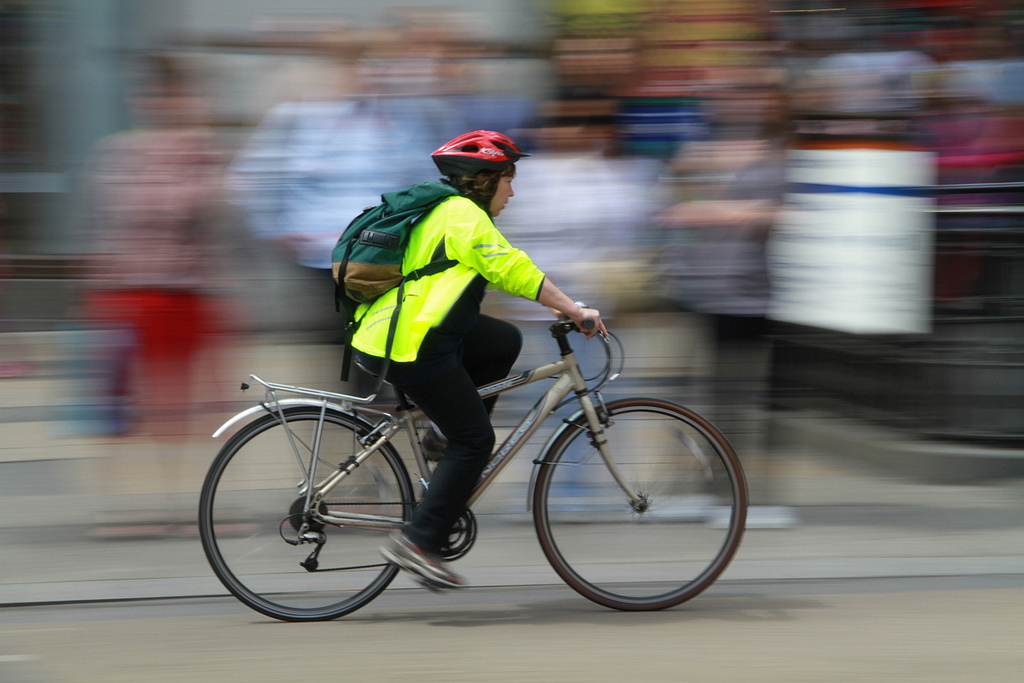
Tip! To avoid camera shake when hand holding your camera try and use 1/60 or faster. If you have to shoot slower than that you generally need to use a tripod or rest the camera on top of something.
If you want to learn more about your camera from a professional photographer, check out all of our beginner DSLR courses here!

 Follow
