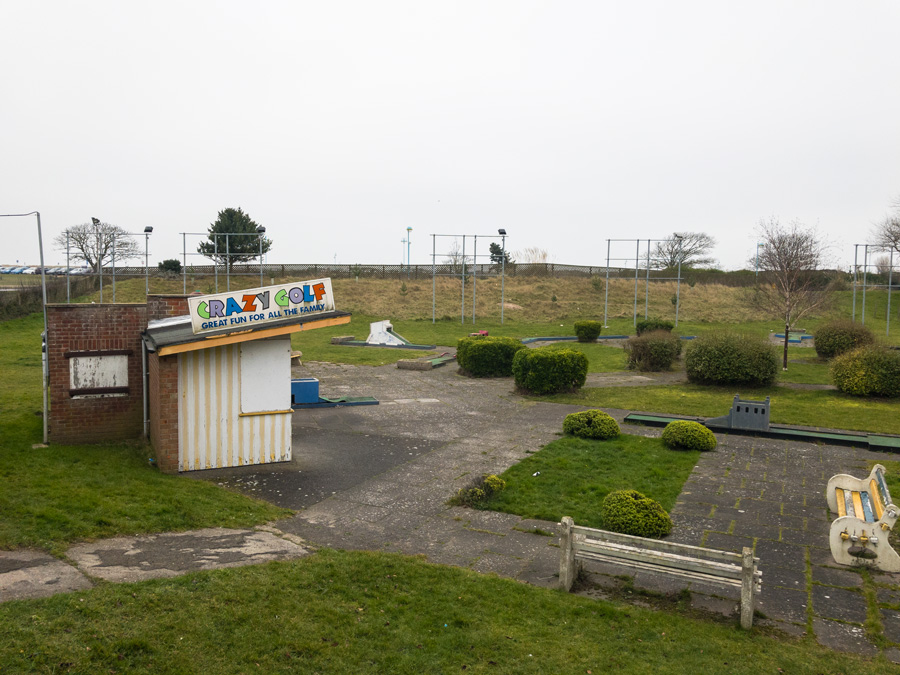
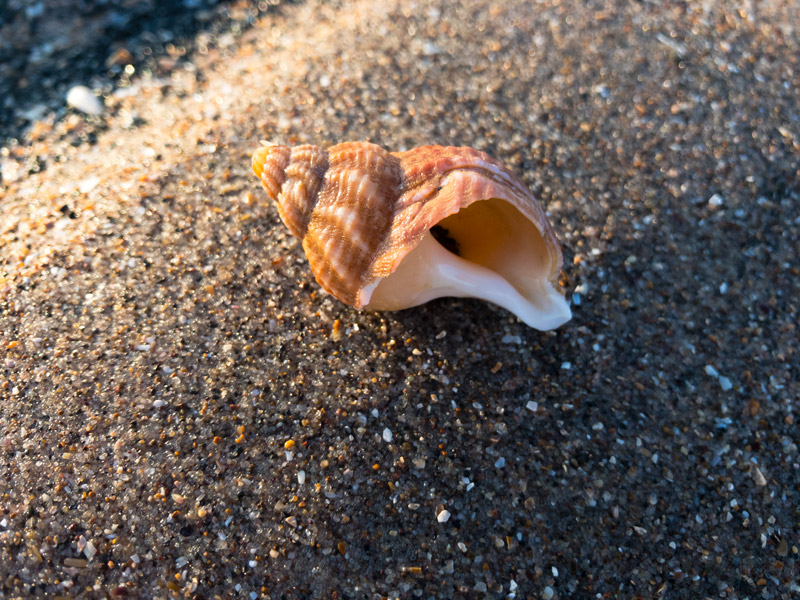
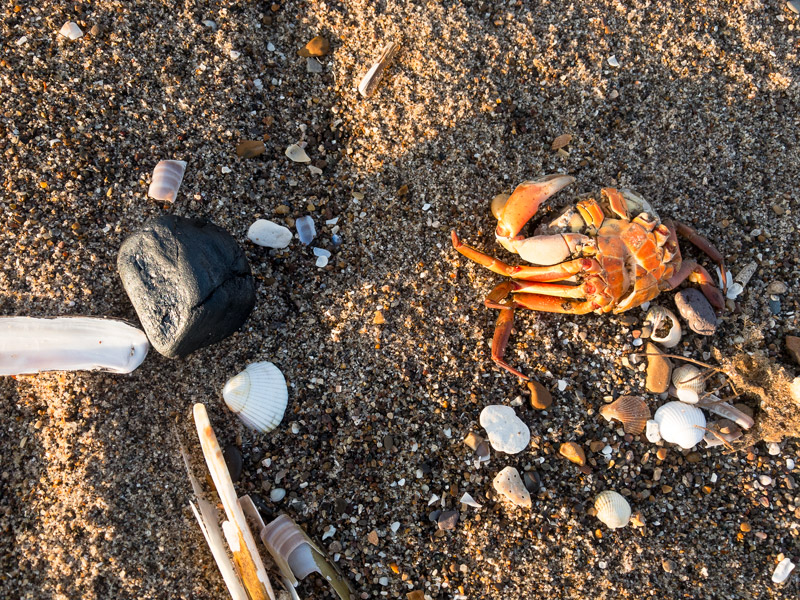
Apple introduced the ability for its users to capture RAW images with iOS 10, which coincided with the launch of the iPhone 7 & 7 plus back in September 2016. Both phones were upgraded with 12MP sensors, with the 7 Plus boasting two cameras designed specifically for wide angle and telephoto shooting. There were various other minor improvements made to both cameras and when I recently upgraded to an iPhone 7, I was keen to test it out. I took the iPhone 7 to sunny Sutton on Sea to capture some images and see what the phone camera was capable of!
Before we get into the photographs it is important to understand the file format and the many benefits (& occasional drawback) of shooting in RAW. Using the standard camera application on the iPhone, images are captured and saved as JPEGs. The JPEG file type is extremely common and all cameras (including most DSLR’s) will be set to this by default. Because the file type is so widely supported it’s great for sharing images over the internet on websites & email etc. However, JPEG images are what’s known as lossy compression files. When a photograph is taken the camera compresses information into the file. The major drawback to shooting in JPEG is that every time the image is opened, edited & saved file data is lost, potentially leading to the loss in image quality over time.
When shooting in RAW photographs are captured directly from the cameras sensor, however the camera does not apply any form of processing to these images. In turn this means much more data is recorded and stored within the file. RAW files can’t be shared straight away and need to go through a conversion process in a program like Lightroom or Photoshop. Once this process has been completed the file can be saved into a variety of different file types, including JPEG. When using a program like Lightroom any edits are not applied directly to the image file. Meaning any changes can be easily reverted or changed and there is absolutely no loss in image quality.
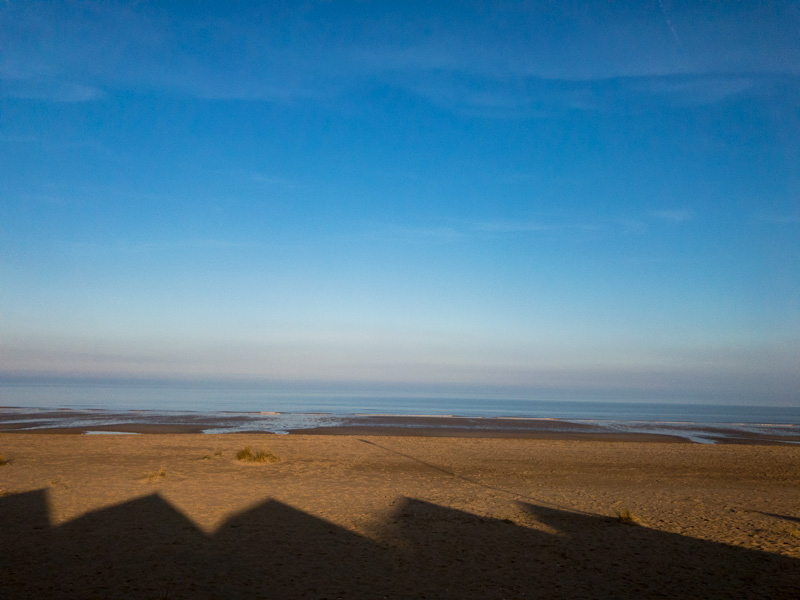
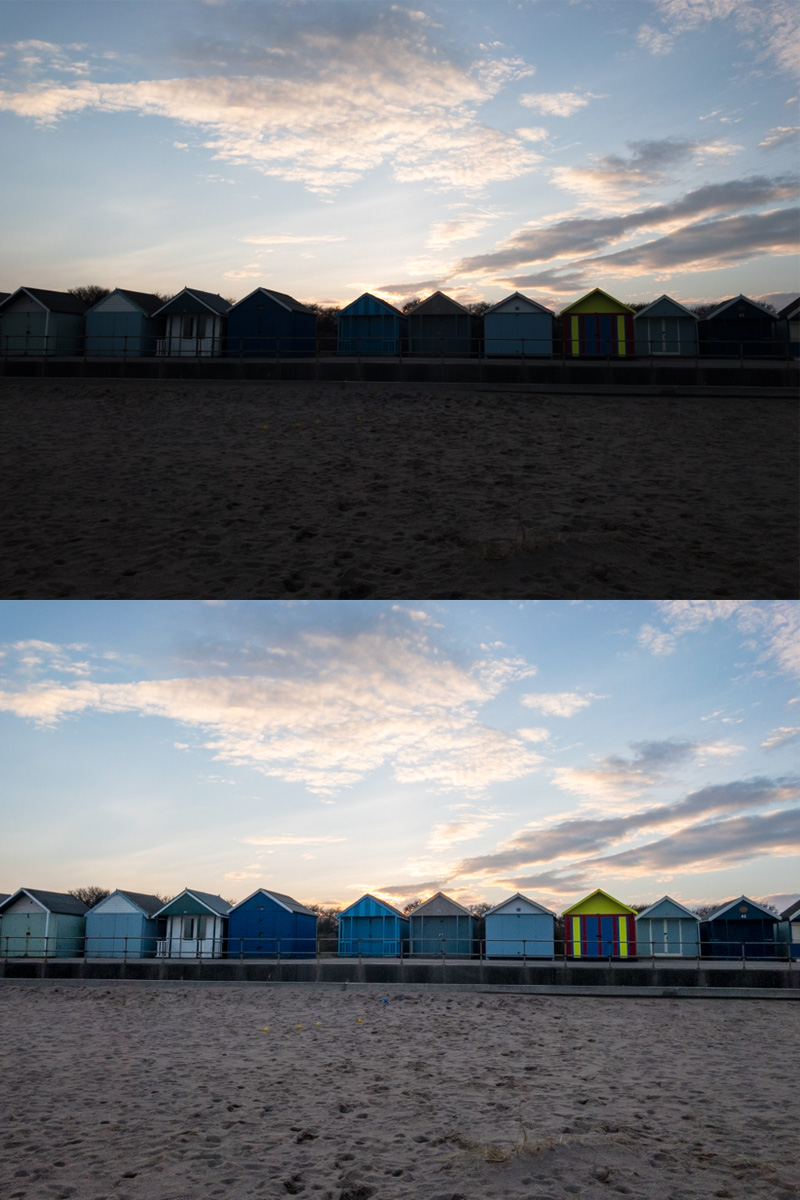
Due to the amount of data recorded, editing RAW files is incredibly powerful. Below you can see an example of the basic conversion process in Photoshop.
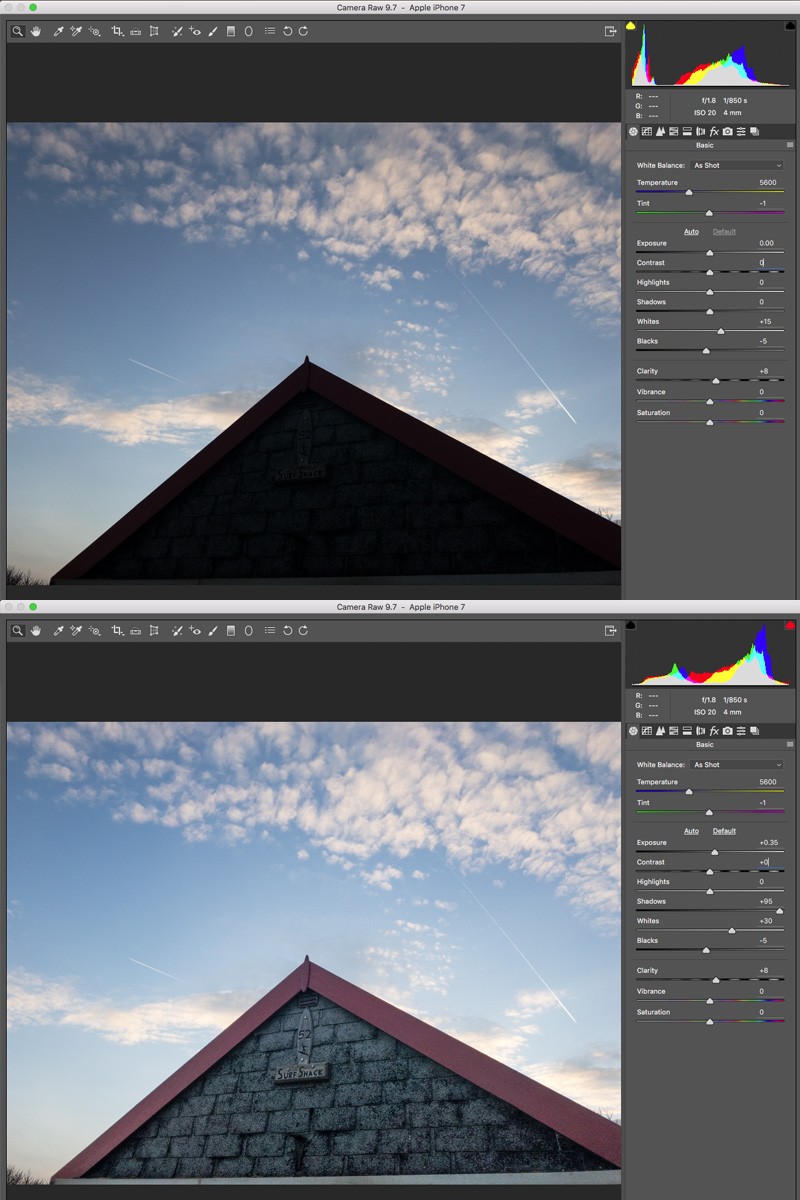
In this example the beach-hut is silhouetted while the sky is fairly well exposed. I was able to simply pull up the shadows slider in order to reveal all of the details that were previously unseen. To do something like this with a JPEG file would be incredibly difficult and time consuming, but in a matter of seconds you can make a huge difference to RAW photographs. It is for reasons like these RAW files are so popular with photographers.
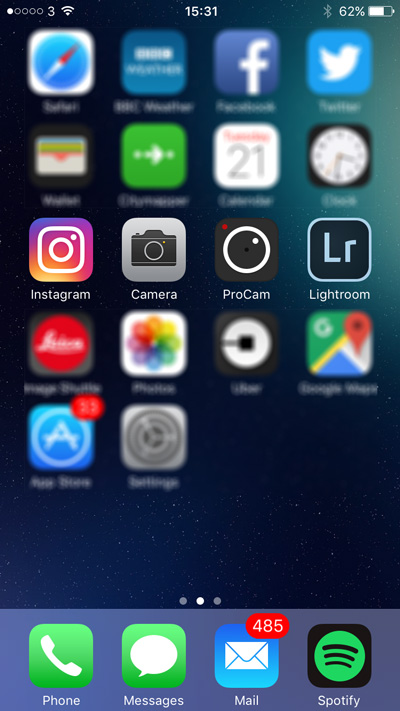
Unfortunately, RAW images can’t be captured through the iPhones default camera application. In order to shoot RAW images you need to buy a third party application from the App Store. All of the images seen in this post were shot with ProCam. £4.99 (as of 21/02/17) – Although I’m pretty sure I managed to pick this up for cheaper in a promotion.
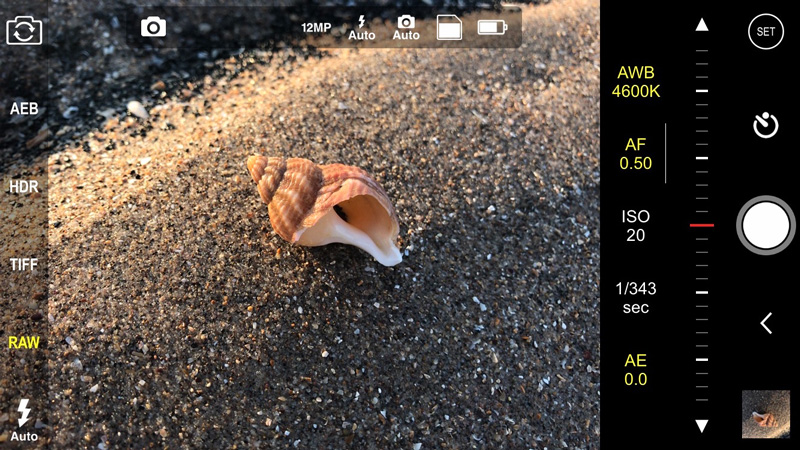
Shooting with the app is great and it has a variety of different modes, including a program mode, Aperture priority and Shutter Priority modes. It has many more features than the standard camera application and displays the white balance, aperture, shutter and ISO while shooting. Playing with these settings gives you much more creative control over your photographs, especially when shooting in RAW.
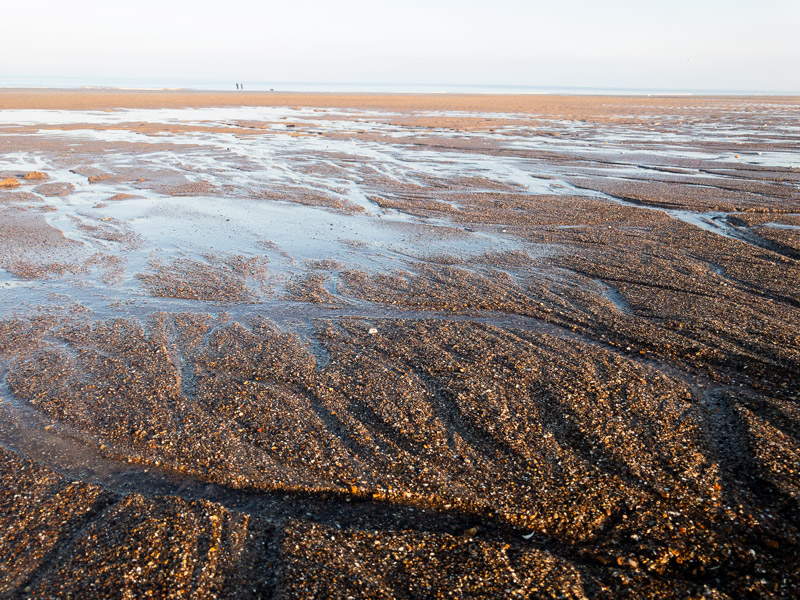
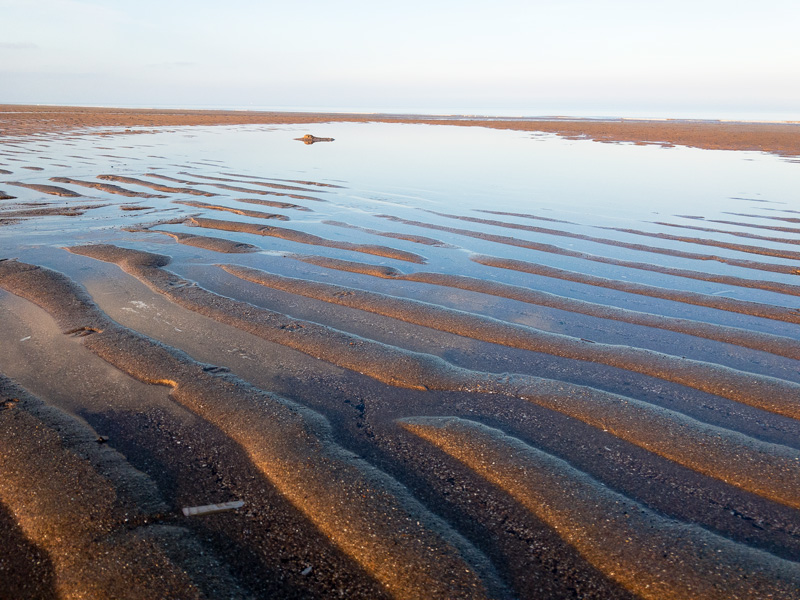


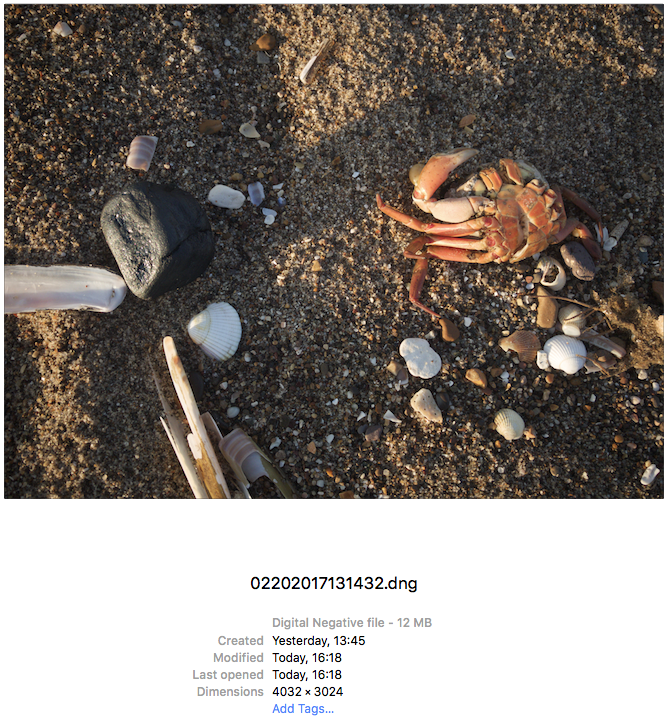
I was pretty happy with some of the images I was able to capture and shooting in RAW definitely helped me salvage some photos that would have been unusable. I was away and shooing with my phone for 5 days and rapidly filled up my internal storage space. The files are saved as .DNG’s (Digital Negative Files) and had an average size of 10-12mb for each file. This is up to 5 times as much space that an average iPhone JPEG would use. You definitely need to be aware of this when shooting in RAW as you will find your storage space depleting at a much faster rate than normal.
It’s a shame that Apple have not implicated the RAW feature into the default camera application as it is such a powerful feature. Fingers crossed this will be added in future iOS updates, but for now I would definitely recommend downloading an app like ProCam if you are looking to try out shooting iPhone RAW.
If you’d like to learn more about editing your RAW photographs we have some really great Lightroom & Photoshop courses available. If you would like to start shooting your own RAW images we also offer Beginner DSLR courses & bespoke One to One tuition.
Post by Office Administrator Tom Dumbleton.

 Follow
